In this Showit tutorial, I am going to show you how to create a new Showit account. If you’ve never used Showit before, creating an account is your first step.
Showit offers a 14-day free trial so that you can test out the platform before you decide to become an official subscriber.
You don’t need to worry about entering your credit card information to get access to the free trial either. During the trial period, you won’t be able to connect your domain or publish your website, but 14 days is a good amount of time to get a feel for how everything works!
Choose your preferred learning style:
- Watch the video
- Read the blog post below
Step One: Head over to the Showit website – showit.co
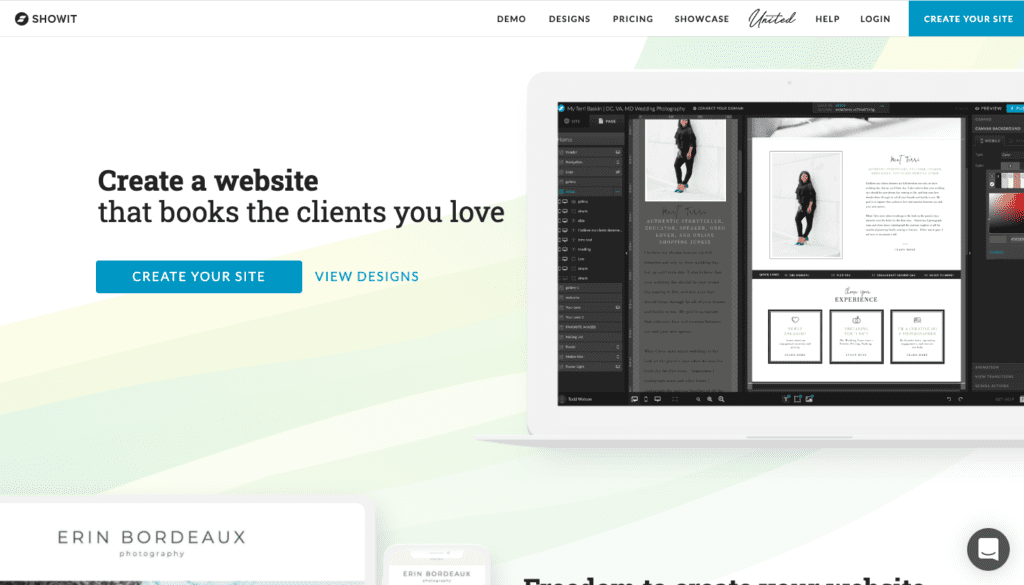
As you can see along the top menu, we can view website designs, look at pricing options, view a showcase of Showit websites, get help, login to our account and create a new site.

Step One: Head over to the Showit website – showit.co
Showit also provides an opportunity to demo the platform before you’ve even signed up for a free trial. If you’re hesitant about handing over your email address, this demo option allows you to preview the dashboard and all of the features of Showit before you even sign up.
Step Two: Select ‘Create Your Site’ or ‘Start Your Free Trial’
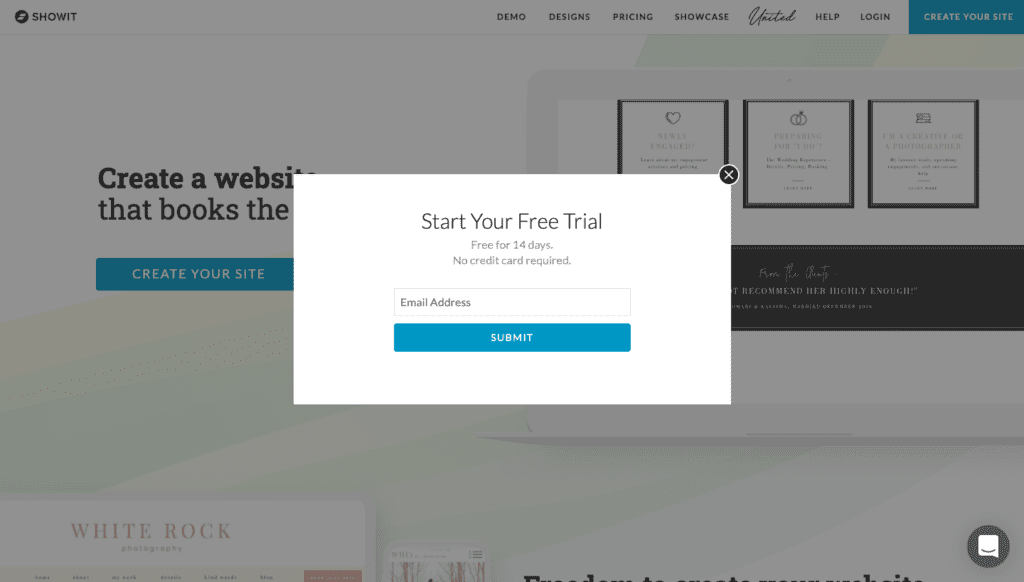
So as we scroll down the homepage, there are several opportunities to sign up for a free trial. We can either select one of ‘Start Your Free Trial’ buttons, or simply go the top menu and select ‘Create New Site’.

Step Two: Select ‘Start Your Free Trial’
Selecting ‘Choose a Design to Start With’ will direct you to the Showit Marketplace, where you can browse the free and premium website designs created by Showit Design Partners.
Ok – so we can go ahead and click on ‘Create New Site’. From there, we can enter our email address – this can be updated down the track if need be – and press ‘Submit’.
Step Three: Enter your contact information
Once we press ‘Submit’, we will be directed to the ‘Account Info’ page where we can enter our information. As I mentioned earlier, you do not need to enter your credit card information to sign up for a free trial.
Keep in mind that the free trial will not commence until the account information page has been completed and submitted.
Step Four: Start creating
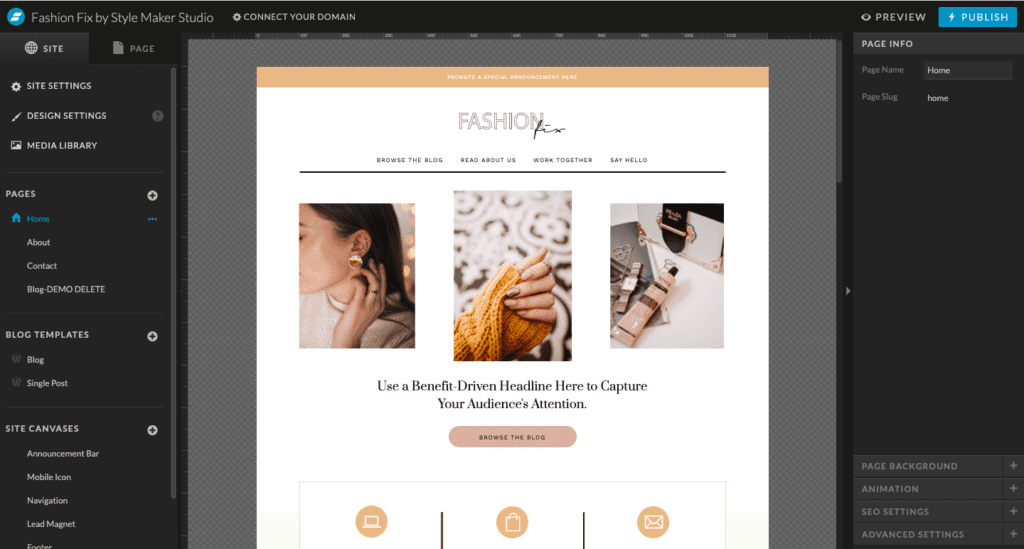
After you’ve completed the ‘Account Information’ page, you’ll be immediately directed to the Showit dashboard where you can select a free template to start with. And that’s all there is to it – easy as that!

Step Four: Start creating
One thing to note is that, once your free trial ends, you will not be able to access the Showit dashboard or any of your website designs unless you subscribe to the platform.
I hope that you found this tutorial helpful. Feel free to leave any comments or questions below – I would love to hear from you.
If you want more Showit tips and tutorials, don’t forget to subscribe to my YouTube Channel and press the bell icon so you get notified each time I upload a new video.
See you next time!


